How to Make Embroidered Patches by Hand (Sew-On and Iron-On)
Make your own embroidered patches by hand: choosing fabric, stitching the design, finishing edges with blanket stitch, and attaching them to clothes and bags.
By Ayoub Farid · · 2 min read
Hand-embroidered patches are a fun way to decorate jackets, bags and hats, and a great way to use small designs. Here's how to make one from start to finish.
What you need
- Base fabric: sturdy cotton, canvas, denim or felt (felt doesn't fray, which makes it easiest)
- Fusible interfacing for woven fabrics
- Floss, needle and a small hoop
- Fabric glue or fray stopper (optional)
- Iron-on adhesive (for iron-on patches)
Step 1: Prepare the fabric
For woven fabric, iron fusible interfacing to the back. This stiffens the patch and prevents fraying. Felt can be used as is.
Step 2: Transfer and stitch the design
Choose a small, bold design (4–8 cm): a flower, a mushroom, a heart, an initial. Hoop the fabric and stitch.
Dense stitches suit patches: satin stitch, long and short stitch, French knots, chain stitch outlines. See mushroom embroidery and heart embroidery for designs.
Step 3: Cut out the patch
Cut around the design, leaving 3–5 mm of fabric. Circles and simple shapes are easiest.
Step 4: Finish the edge
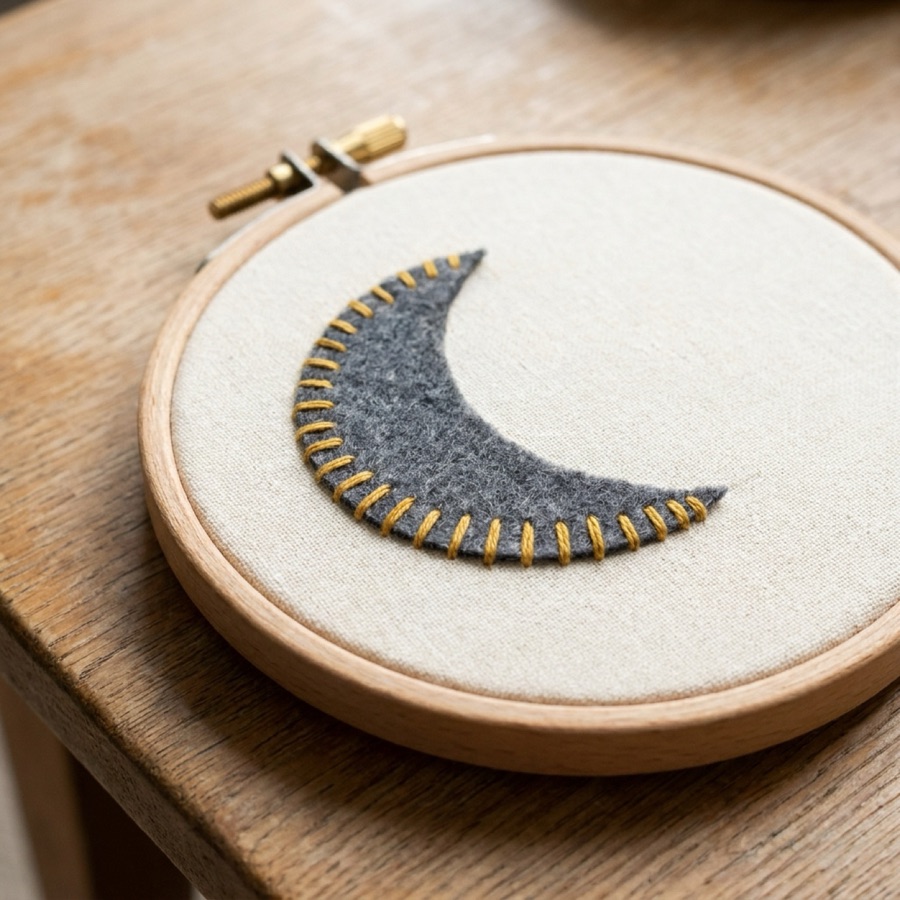
- Blanket stitch around the edge (blanket stitch guide): the classic handmade look.
- Tight satin stitch border (like a commercial patch) over a split stitch outline.
- Felt: no finishing needed, or a simple running stitch border.
- A thin line of fray stopper on cut edges helps woven fabrics.
Step 5: Attach it
Sew-on (most durable)
Pin the patch in place and sew around the edge with small whip stitches or running stitch in matching thread.
Iron-on
Fuse iron-on adhesive to the back of the patch, peel the paper, and iron onto the garment. For anything washed often, add a few stitches too.
Ideas
- Flower and mushroom patches for a denim jacket (how to embroider denim)
- Initial patches as gifts (embroidery gift ideas)
- Patches covering holes (visible mending)
Patch design tips
- Bold shapes read best: small details get lost on a jacket.
- Strong contrast: pale design on a dark patch, or the reverse.
- Dense stitching: patches look more professional when the background is fully covered, for example with rows of split stitch or satin stitch.
- Simple outlines: circles, ovals and rounded shapes are easiest to cut and edge.
Make a few small patches as practice before stitching one for a favourite jacket.
Frequently asked questions
What fabric is best for embroidered patches?
Felt (no fraying) or a sturdy cotton or canvas backed with fusible interfacing.
How do I stop patch edges from fraying?
Finish with blanket stitch or a satin stitch border, and use interfacing or fray stopper.
Are sew-on or iron-on patches better?
Sew-on patches last longer. Iron-on is quicker; add stitches for washable items.
What size should a handmade patch be?
4–8 cm is easy to stitch and looks good on jackets and bags.