Running Stitch: How to Do It Neatly (Beginner Guide)
Learn running stitch step by step: needle points, the right stitch and gap length, how to keep lines straight, and the mistakes beginners make.
By Ayoub Farid · · 4 min read
Running stitch is the first stitch almost everyone learns, and for good reason: it is just the needle going up and down along a line. It is also the stitch that shows your control most honestly. Every uneven gap and every wobble is visible, so getting it neat teaches you the rhythm every other stitch depends on.
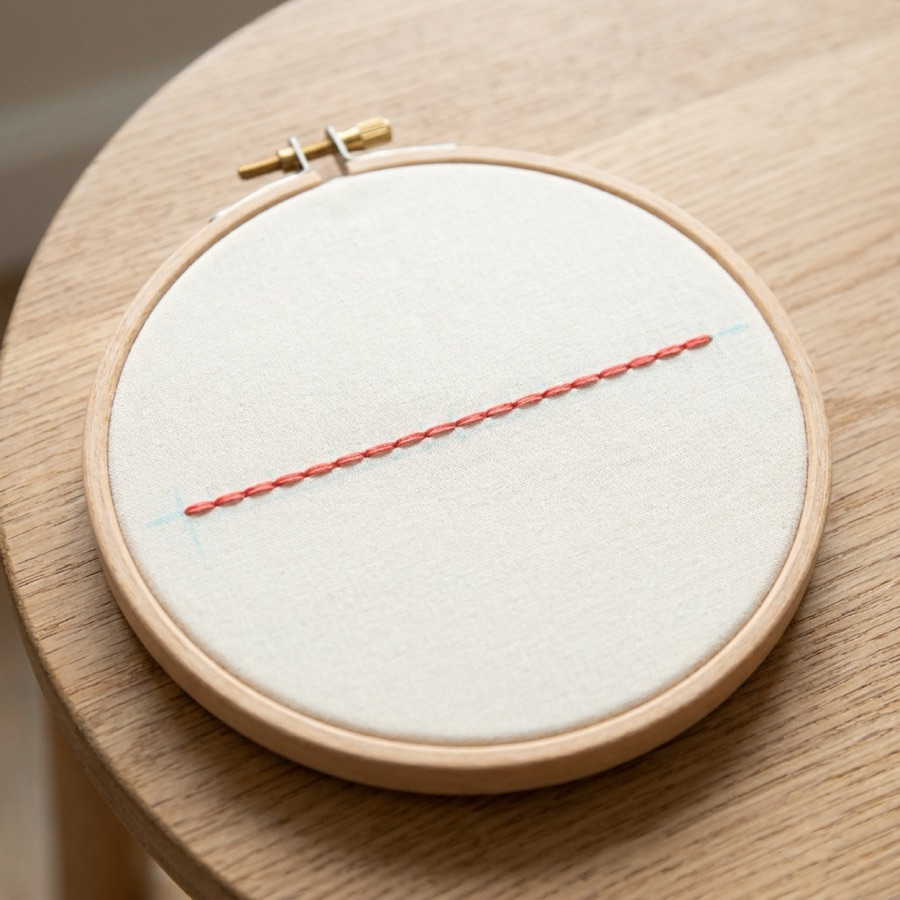
What running stitch is used for
- Dashed outlines on simple shapes, borders and lettering where you want a light, airy look.
- Quilting and sashiko-style designs, where rows of even running stitch create the pattern.
- Basting and gathering fabric (in sewing rather than decorative embroidery).
- A base for other stitches: whipped and threaded running stitch wrap a second thread through the first row.
What you need
Any embroidery hoop, a plain cotton or linen fabric pulled drum-tight, a crewel or embroidery needle (size 5–9), and two or three strands of six-strand embroidery floss. Draw a straight line across the fabric with a washable pen so you have something to follow. If you are setting up for the first time, read how to use an embroidery hoop first.
How to do running stitch, step by step
- Knot your thread (or use a waste knot) and come up from the back at the start of your line. This is point 1.
- Go down a stitch-length along the line (point 2). Pull gently until the thread lies flat, not tight.
- Come up a gap-length further along the line (point 3).
- Repeat: down a stitch-length, up a gap-length, all the way across.
- Finish on the back by weaving the thread under three or four stitches, then trim.
A good beginner target is stitches and gaps about the size of a grain of rice, roughly 3–4 mm. Gaps are usually a little shorter than the stitches, but the important thing is that they are the same every time.
Stab method vs sewing method
In a tight hoop, use the stab method: push the needle straight down, pull it through from the back, then push it straight up. Each stitch is two separate movements. The "sewing method" (scooping several stitches onto the needle at once) is faster but only works on loose fabric without a hoop, and tends to make stitches uneven for beginners.
Tips for a neat line
- Count in your head. A steady "down, up" rhythm keeps lengths consistent more than measuring does.
- Look at where the needle comes up, not where it goes down. The gap is the part beginners rush.
- Keep the fabric taut. Slack fabric makes stitches wander off the line and pucker. If the fabric no longer sounds like a little drum when you tap it, re-tighten the hoop.
- Don't pull hard. Running stitch should lie on the surface. If the fabric gathers between stitches, you are pulling too tight. See how to stop embroidery puckering.
Common running stitch mistakes
| Mistake | What causes it | Fix |
|---|---|---|
| Stitches of different lengths | Guessing each stitch separately | Mark dots every 3 mm for your first line, then try by eye |
| Line drifts off the pen mark | Looking at the needle, not the line | Aim for the line before every stitch comes up |
| Fabric gathers | Pulling too tight, or slack hoop | Tighten the hoop, pull until the thread just lies flat |
| Gaps uneven | Rushing the "up" stitch | Slow down on the gap; it is half the pattern |
For more help with consistency, read why embroidery stitches look uneven.
Variations to try next
- Whipped running stitch: pass a second thread under each stitch from the same side to make a twisted cord look.
- Double running stitch (Holbein stitch): stitch a row, then come back filling the gaps for a solid line with the same front and back.
- Sashiko: Japanese running stitch in grids and geometric patterns, traditionally used for mending. See sashiko for beginners.
Once your running stitch is even, move on to back stitch, which closes the gaps to make a solid line.
Try it with a coach
Running stitch is the first lesson in Hoopie. The animated guide shows each needle point (1, 2, 3) on a hoop, then you stitch your own line and take a photo. Hoopie checks whether your stitch lengths and gaps are consistent and whether the line follows your pen mark, and tells you exactly what to change on the next row.
Frequently asked questions
How long should a running stitch be?
For hand embroidery, 3–4 mm (about the size of a grain of rice) is a comfortable beginner length. Smaller stitches look more refined, larger ones more rustic. Keep every stitch the same.
How many strands of floss should I use for running stitch?
Two or three strands of six-strand floss is a good default. Use more strands for a bold dashed line and one or two for fine detail.
What is the difference between running stitch and back stitch?
Running stitch leaves gaps between stitches. Back stitch goes back to fill each gap, so it makes a solid, unbroken line.
Why does my running stitch look wobbly?
Usually the fabric is not tight enough in the hoop or the stitches are different lengths. Re-tighten the hoop and focus on a steady, even rhythm.