Split Stitch Embroidery: Lines, Letters and Satin Outlines
Learn split stitch step by step: how to split the strands cleanly, the best floss to use, and how to use it for lettering and under satin stitch.
By Ayoub Farid · · 3 min read
Split stitch makes a textured line that looks like a tiny chain or braid. You make it by bringing the needle up through the middle of the previous stitch, splitting its strands. It is great for lettering and outlines, and it is the classic edge to stitch before you fill a shape with satin stitch.
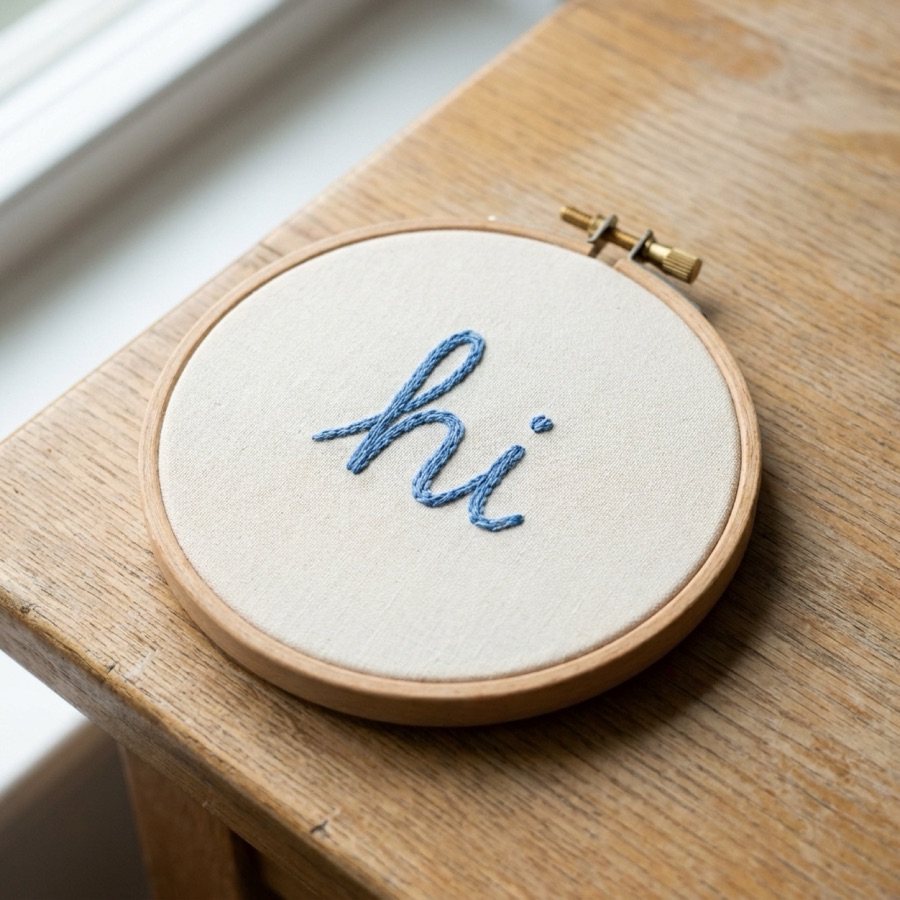
How to do split stitch, step by step
- Come up at the start of the line (point 1).
- Go down one stitch-length along (point 2) and pull flat.
- Come up through the middle of that stitch, splitting the strands evenly with the needle (point 3).
- Go down one stitch-length beyond point 2.
- Repeat: up through the middle of the last stitch, down one length ahead.
Use an even number of strands
Split stitch works best with 2 or 4 strands, so the needle can split them evenly down the middle. With an odd number, one side of the line looks thicker than the other.
Split stitch for lettering
Split stitch is one of the best stitches for words because it is solid, slightly raised and easy to control around curves. For small letters, use short stitches (2 mm) and 2 strands. For each letter:
- Stitch the straight strokes first, then the curves.
- Shorten stitches around tight curves like the bowl of a "b" or "e".
- End each letter on the back and start fresh, so thread does not shadow through between letters.
There is a full walkthrough in how to embroider letters.
Split stitch under satin stitch
Before filling a shape with satin stitch, outline it with split stitch. Then bring your satin stitches up and down just outside the outline. The outline acts as a ridge that gives the satin edge a crisp, slightly raised finish, and hides any small irregularities. This is the main trick in satin stitch tips for neat edges.
Common split stitch mistakes
| Problem | Cause | Fix |
|---|---|---|
| Line looks lopsided | Splitting off-centre or odd strand count | Use 2 or 4 strands, split down the middle |
| Looks like back stitch | Coming up at the end, not the middle | Pierce the previous stitch near its centre |
| Fuzzy, frayed thread | Thread too long, splitting the same strands repeatedly | Use 40–45 cm lengths |
| Jagged curves | Stitches too long | Halve the length on curves |
Split stitch vs stem stitch
Both work well on curves. Stem stitch has a twisted rope look and is a little smoother; split stitch looks more like a chain and is a little more solid, which makes it better for small text and satin outlines.
In Hoopie, split stitch is taught right after stem stitch, with letters as the practice. After you stitch, Hoopie looks at your photo and points out letters where the line goes uneven or the stitches get too long.
Frequently asked questions
What is split stitch used for?
Lettering, outlines, stems and as an outline under satin stitch. It can also fill shapes when worked in close rows.
How many strands for split stitch?
Use an even number, usually 2 for fine lines or 4 for bolder lines, so you can split them evenly.
Can you do split stitch with one strand?
Not really; one strand can't be split cleanly. Use two strands for very fine split stitch.
Is split stitch the same as chain stitch?
No. They look a little similar, but chain stitch is made of looped stitches, while split stitch pierces through the previous straight stitch.