Satin Stitch: How to Get Smooth, Glossy Fills
Learn satin stitch step by step: outlining, stitch direction, how many strands, and how to avoid gaps, ragged edges and loose stitches in your fills.
By Ayoub Farid · · 3 min read
Satin stitch fills a shape with smooth, parallel stitches that lie side by side like silk. Done well, it is glossy and almost solid. Done in a hurry, it shows gaps, ragged edges and loose stitches that catch. The good news is that neat satin stitch comes from a few habits, not talent.
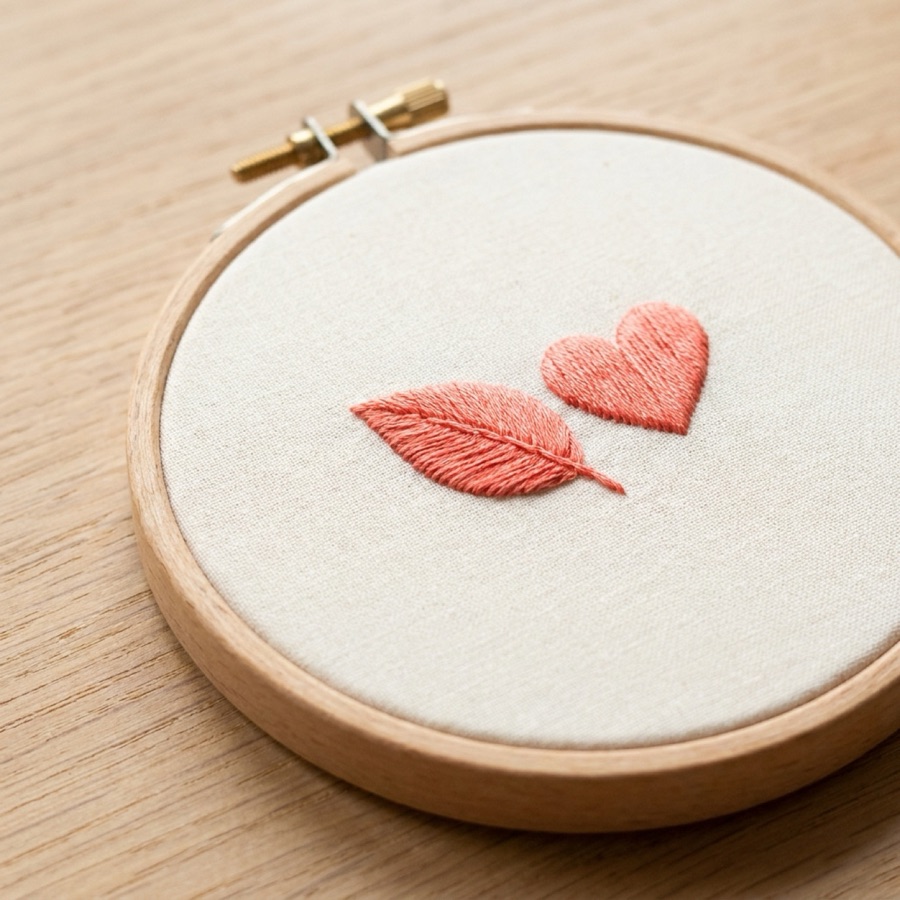
How to do satin stitch, step by step
- Outline the shape with split stitch or back stitch using the same thread. This gives you a crisp edge to stitch over.
- Choose a direction. Usually across the narrowest width of the shape, or at an angle (for leaves, angle toward the centre vein).
- Start in the middle, not at one end. Bring the needle up just outside the outline on one side, go down just outside on the opposite side.
- Lay the next stitch right beside the first, touching it, with no fabric showing between them.
- Work to one end, then come back to the middle and fill the other half.
- End on the back by weaving through the back of your stitches.
Starting in the middle keeps the angle consistent; if you start at a tip, the angle tends to drift as the shape widens.
How many strands?
Use 2 strands for small shapes and fine glossy fills, 3 for medium shapes. More strands are faster but harder to lay flat. Separate the strands and put them back together before threading (called "stripping" the floss); it makes the stitches lie flatter and shinier.
Keep stitches short
Satin stitches longer than about 1 cm become loose and snag easily. For bigger shapes, split the area into sections, use long and short stitch, or use another fill such as seed stitch or fishbone stitch for leaves.
Common satin stitch mistakes
| Problem | Cause | Fix |
|---|---|---|
| Fabric shows between stitches | Stitches spaced apart | Place each stitch touching the last; add a stitch in any gap |
| Ragged, uneven edge | Stitches end at different points | Outline first, then go just outside the outline every time |
| Loose, loopy stitches | Stitches too long or tension too light | Keep stitches under ~1 cm; pull until flat |
| Puckered fabric | Pulling too tight or slack hoop | Drum-tight hoop, gentle even tension |
| Stitches look twisted, not glossy | Floss twisting | Let the needle dangle to untwist; strip the floss |
There is a deeper troubleshooting guide in satin stitch tips for neat edges.
Padded satin stitch
For a raised look (lettering, berries, petals), fill the shape first with a layer of small stitches or seed stitch going the opposite direction, then satin stitch over the top. The padding lifts the satin and hides small irregularities.
Where satin stitch shines
- Small leaves and petals
- Hearts, dots and small solid shapes
- Monograms and bold letters
- Fruit, berries and cute characters
Satin stitch is part of Hoopie's "Knots & fills" week. The coach checks your photo for gaps, ragged edges and loose stitches specifically, which are exactly what's hard to judge by eye while you're stitching.
Frequently asked questions
How do you make satin stitch look neat?
Outline the shape first, start in the middle, place every stitch touching the last, and come up and go down just outside the outline each time.
How long can a satin stitch be?
Keep each stitch under about 1 cm (3/8 in). Longer stitches get loose and snag.
Why does my satin stitch have gaps?
The stitches are spaced slightly apart. Lay each new stitch right against the last one, and fill any gaps with an extra stitch.
What is the difference between satin stitch and long and short stitch?
Satin stitch uses single stitches that go all the way across the shape. Long and short stitch uses staggered rows of shorter stitches, which is better for large areas and colour blending.