Back Stitch Embroidery: Step-by-Step Guide for Beginners
How to back stitch for embroidery: needle points, stitch length on curves, avoiding gaps, and tips for crisp outlines and lettering.
By Ayoub Farid · · 3 min read
Back stitch is the workhorse outline stitch of hand embroidery. It makes a solid, unbroken line, which is why it is used for outlines, lettering, stems and fine detail in almost every beginner pattern. Learn it well and you can stitch most simple designs from start to finish.
When to use back stitch
- Outlines of shapes, from hearts to animals.
- Lettering, especially small text where you need a clean, readable line.
- Fine details like whiskers, veins on leaves and facial features.
- A base for whipped back stitch, which turns the line into a smooth cord.
How to do back stitch, step by step
- Come up one stitch-length along the line from the start (point 1). Not at the start: that is the trick.
- Go down at the very start of the line (point 2), stitching backwards.
- Come up one stitch-length ahead of point 1 (point 3).
- Go back down into the same hole as point 1, where the previous stitch ended.
- Repeat: always come up one stitch ahead and go back down into the end of the last stitch.
On the back of the fabric you will see longer, overlapping stitches. On the front, a neat continuous line.
Stitch length
Around 3 mm is a good default. On curves and tight corners, shorten the stitches to 1.5–2 mm. Long stitches on a curve turn it into a series of flat straight sections, which is why curves often look angular. This is one of the most common things Hoopie points out in a back stitch photo.
Tips for crisp back stitch
- Share the hole. Go down exactly where the previous stitch ended. Missing by a thread leaves a visible gap.
- Use 2–3 strands. One strand is very fine; six strands is chunky and hard to keep smooth on curves.
- Keep tension even. A pulled stitch will look thinner than its neighbours and can pucker the fabric.
- Turn the hoop, not your wrist. Rotate the hoop so you are always stitching in your comfortable direction.
Common back stitch mistakes
| Problem | Cause | Fix |
|---|---|---|
| Small gaps between stitches | Going down beside the last hole instead of into it | Aim for the exact end of the previous stitch |
| Angular curves | Stitches too long for the curve | Halve the stitch length around curves |
| Uneven line thickness | Different tension per stitch | Pull each stitch only until it lies flat |
| Fabric puckers | Pulling too hard or loose hoop | Tighten the hoop, ease tension |
Back stitch vs stem stitch vs split stitch
All three make solid lines. Back stitch is the flattest and most precise, great for letters. Stem stitch has a twisted rope texture that flows around curves. Split stitch looks like a tiny chain and works well as an outline under satin stitch. For a side-by-side, see all hand embroidery stitches.
Practice project: a back stitch heart
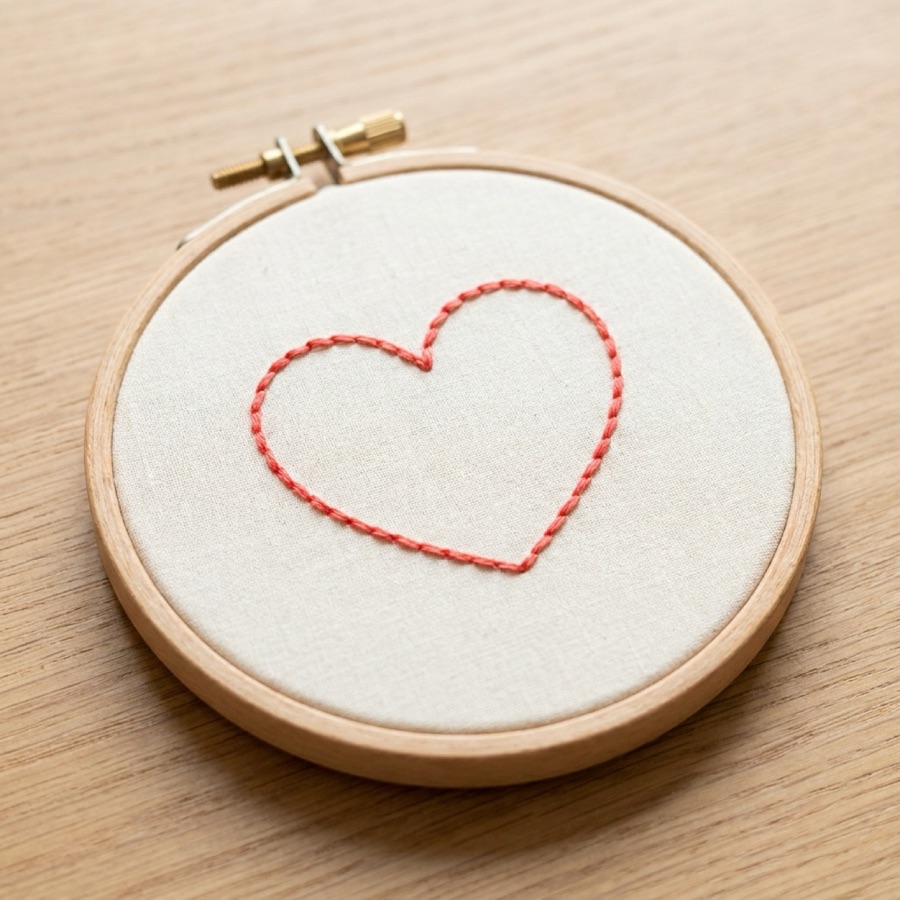
Draw a heart about 6 cm wide with a washable pen. Stitch around it in back stitch, using shorter stitches around the two top bumps and the bottom point. A heart is a great test because it has curves, a dip and a sharp point. Hoopie's second lesson is exactly this: a straight line, then a heart outline, with photo feedback on each.
Frequently asked questions
Why is it called back stitch?
Because each stitch goes backwards, filling in toward the previous stitch, while the thread moves forwards along the line underneath.
How do I back stitch a smooth curve?
Use shorter stitches on the curve, around 1.5–2 mm, and keep going into the exact end of the previous stitch so there are no gaps.
Can I use back stitch for letters?
Yes. Back stitch is one of the best stitches for lettering. Use small stitches and one or two strands for small text.
How do I finish a line of back stitch?
On the back, slide the needle under 3–4 stitches, then trim the thread. Avoid knots on the back if you plan to frame the piece.