AI Embroidery Feedback: How a Photo Coach Checks Your Stitches
How AI feedback on embroidery works: what it checks in a photo of your hoop, how to take a good photo, what it can and can't judge, and how to use it.
By Ayoub Farid · · 3 min read
When you learn embroidery from videos, nobody tells you what's wrong with your stitches. You might notice that a line looks "off" without being able to say why. That's the gap AI photo feedback tries to fill: you take a photo of your hoop, and a coach tells you what's working and what to change. Here's how it works in Hoopie, and what it can and can't do.
How it works, step by step
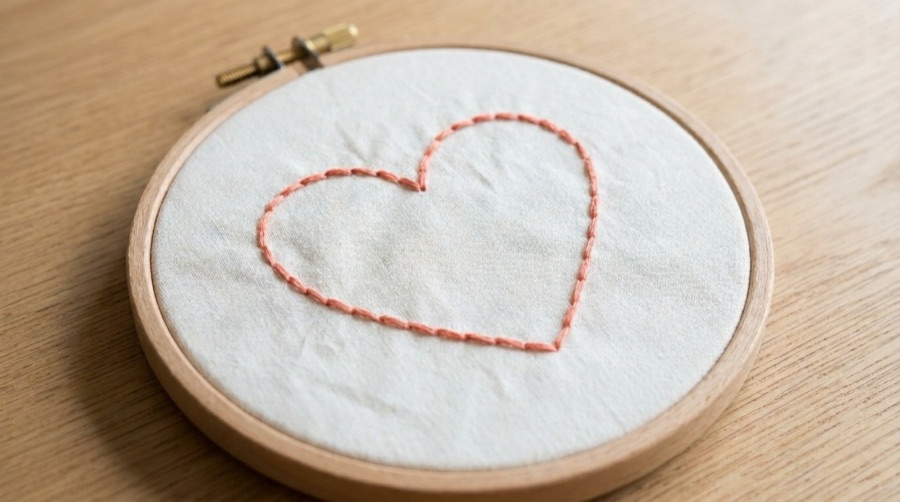
- You stitch one lesson step, for example a back stitch heart, following the animated guide.
- You take a close-up photo of your hoop.
- The photo is checked against that step's goal. Each lesson step has its own checklist: what to look for and what to ignore for now. A first running stitch is judged on even lengths and staying on the line, not on fancy finishing.
- You get a result: a score out of 100, what's already working, and up to two fixes, each written as problem → what to do with the needle.
- You can retake the photo after trying again.
What it looks for
The coach names problems from a fixed list that covers the most common beginner issues:
- Uneven: stitch or gap lengths vary
- Wobbly: the line drifts off the drawn guide
- Pucker: the fabric gathers around stitches
- Gaps: fabric shows where it shouldn't
- Ragged: edges of fills aren't crisp
- Loose: stitches are slack or loopy
- Knots: tangles or lumps on the surface
- Slack fabric: the fabric isn't tight in the hoop
A typical fix looks like: "The curves at the top look a bit angular. → Take shorter stitches around the two bumps, about half the length."
Why only two fixes?
Because beginners improve faster when they focus. Ten notes at once is overwhelming; two specific changes for the next attempt is something you can actually do.
How to take a photo that gets good feedback
- Close-up: fill the frame with your hoop.
- Daylight: near a window, no harsh shadows.
- Straight above: not at an angle.
- In focus: tap to focus on the stitches.
Blurry, far-away or "not embroidery" photos are flagged and don't use up a critique. More tips in how to photograph embroidery.
What AI feedback can't do
Honest limits matter:
- It sees the front of your work, not the back.
- It judges what's visible in one photo; very fine detail on a dark fabric can be hard to see.
- It doesn't see how you moved the needle, only the result.
- It's a coach for learning stitches, not a judge of artistic choices.
To reduce false alarms, Hoopie runs two independent checks on each photo and keeps only the problems both agree on.
How to use feedback well
- Read what's working first. Keep doing that.
- Pick the first fix and stitch a short new line focusing only on it.
- Retake the photo and compare.
- Keep your photos. Your first and latest hoops side by side are the best motivation there is.
If you're just starting out, read embroidery for beginners and common embroidery mistakes.
Frequently asked questions
Can AI really judge embroidery?
It can reliably spot common technical problems like uneven stitches, gaps, puckering and wobbly lines in a clear photo. It's not a judge of artistic taste.
Is my photo private?
Photos are sent for analysis to generate feedback; your hoop gallery and progress are stored on your device. See Hoopie's privacy policy for details.
How many critiques can I get?
Hoopie gives 3 photo critiques a day for free and up to 50 a day with Pro. Unusable photos don't count.
What if the feedback is wrong?
Retake the photo in better light and straight above. If it still disagrees with you, trust your eye; it's a coach, not a rule.